“And it’s really scary when stopped on a hill…” Zoe says while we’re watching TV.
Nice. And she was so calm about it.
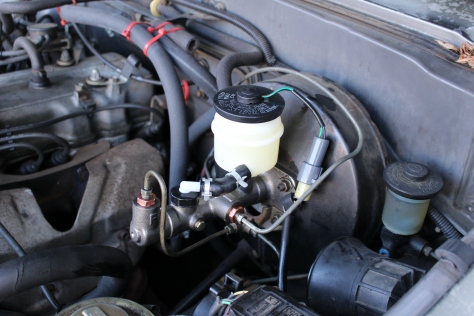
The symptom made it really easy to diagnose, but we double checked anyway. It was simple: start the truck, put my foot on the brake, and wait… There would come a point where the pedal started dropping to the floor.
Master cylinder.
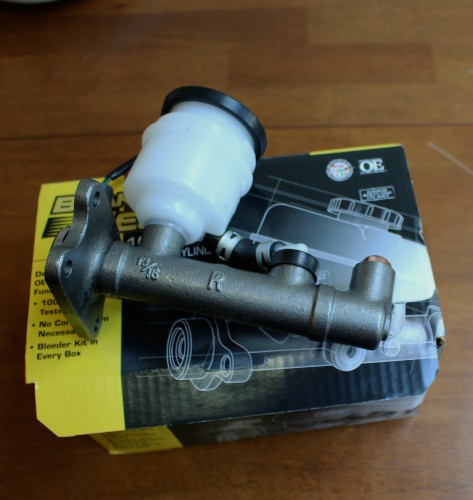
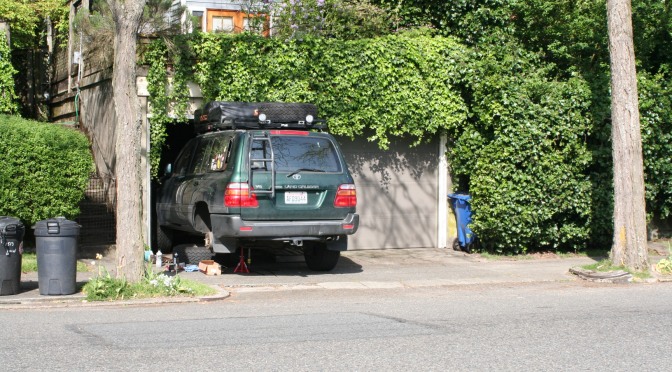
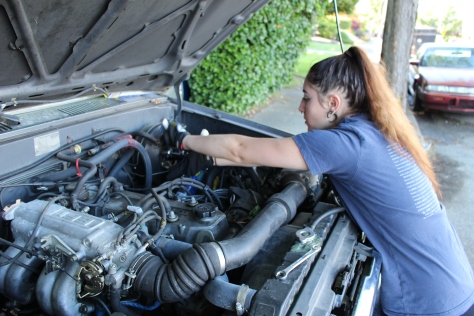
Zoe picked up a stock replacement from O’Reilly’s and we had her wrench another repair on her 1987 4Runner. Putting a new master cylinder on a simple vehicle like this little truck is the perfect project for a beginner:
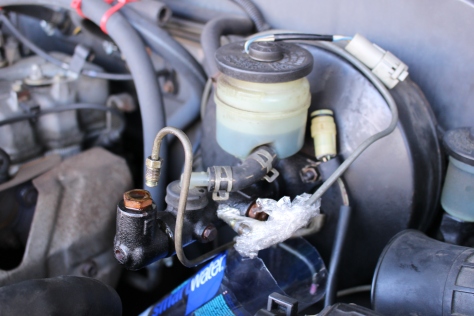
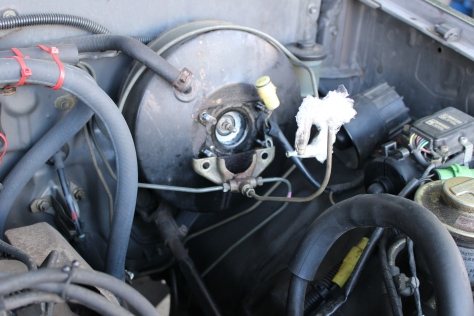
First, unplug the lead coming out of the master cylinder cap and then disconnect the brake lines from the old master cylinder (we used a bottle under them to catch leaking brake fluid). Find something to cover or plug them so that no contaminants get in. Zoe used some plastic wrap.
After that, simply remove the four nuts holding the master cylinder to the brake booster, and remove.
Here is the cool part: the directions for the master cylinder give you the step by step procedure on how to bench bleed it. This involves placing the new master cylinder level in a vice or other clamp on a bench, filling it full of brake fluid, and running tubes from the fitting for the brake lines back into the reservoir. You then use a dowel to push the cylinder in and pump the air out of master cylinder.
But, I don’t have a vise or other way to hold it.
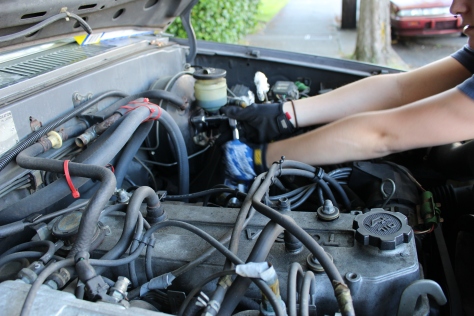
We used the truck as our “bench” by bolting the new master cylinder on to the truck without attaching the brake lines. Then, we copied the bench bleeding procedure by filling the reservoir with fluid and let some drip out. Next, we fitted the green fittings they supplied, attached the plastic hoses, and ran them back into the reservoir:
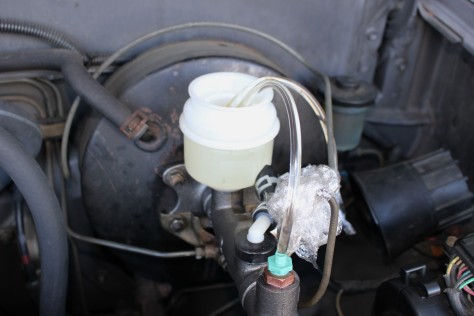
Zoe pushed the brake pedal down slowly while I held the hoses in the fluid. I had her repeat the procedure until no air bubble were present (there were a few really big ones right away, but they disappeared quickly. We didn’t even try to get all the very tiny ones out). At this point, we quickly pulled the green fitting out, put the brake lines back on, topped off the fluid, capped the reservoir, and plugged it in. Done.
It was that simple. And by “bench bleeding” the master cylinder this way, we managed to get zero air in the lines. The brake pedal feel was firm right from the start, and braking performance greatly improved. We’ll still bleed the entire system just to make sure…
Easy project and Zoe saved quite a bit of money by doing it herself.
A couple of notes though:
Buy a set of flare nut wrenches that are appropriate for your vehicle. They’ll make working on fuel and brake lines so much easier.
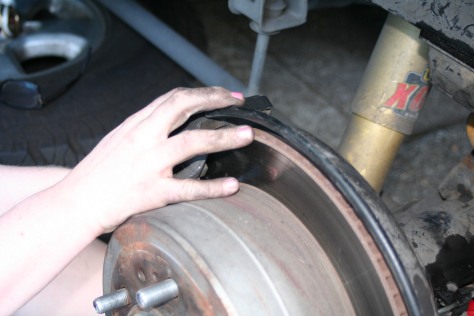
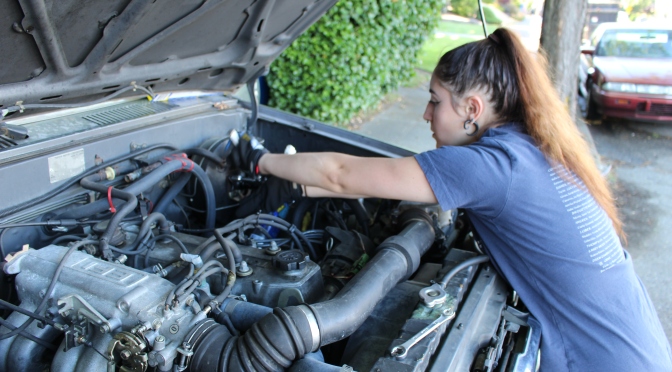
And! Tie back your hair. I didn’t think about it while we were doing this, but when I looked at the pics I saw it: Zoe should’ve had her hair tied up and out of the way. If this would’ve been a project on a running vehicle… yikes.